What This Covers
How to finalize your blog post, adjust settings, and publish it directly to your WordPress website, Blogger, and connected social media accounts — all in a single workflow.
Who Should Use This
Anyone who wants to:
- Publish posts directly to WordPress or Blogger
- Share posts automatically to Facebook, LinkedIn, or other connected social accounts
- Control featured images, tags, categories, and video embeds in one place
✅ Step-by-Step Instructions
1️⃣ Set Your Featured Image

- Click on Featured Image in your post editor.
- Upload your own image or use an AI or stock image (recommended for copyright safety).
- Once uploaded, your featured image will appear in the post preview and on your live blog.
2️⃣ Adjust Your Post Tags
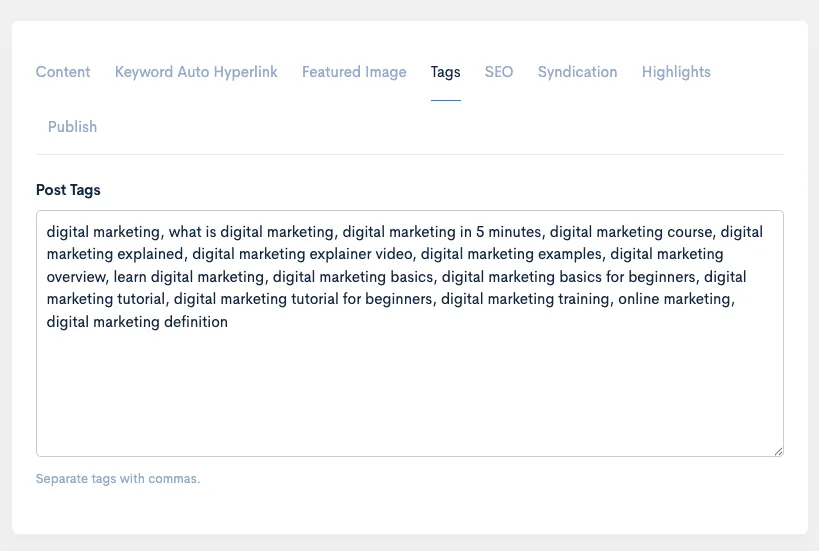
- Add relevant post tags— these help with:
- Improving on-site search
- Giving search engines better context for ranking
- If your post was created from a YouTube video, default tags are often auto-generated for you.
- Edit or add new tags to match your SEO goals.
3️⃣ Set Up Social Media Syndication
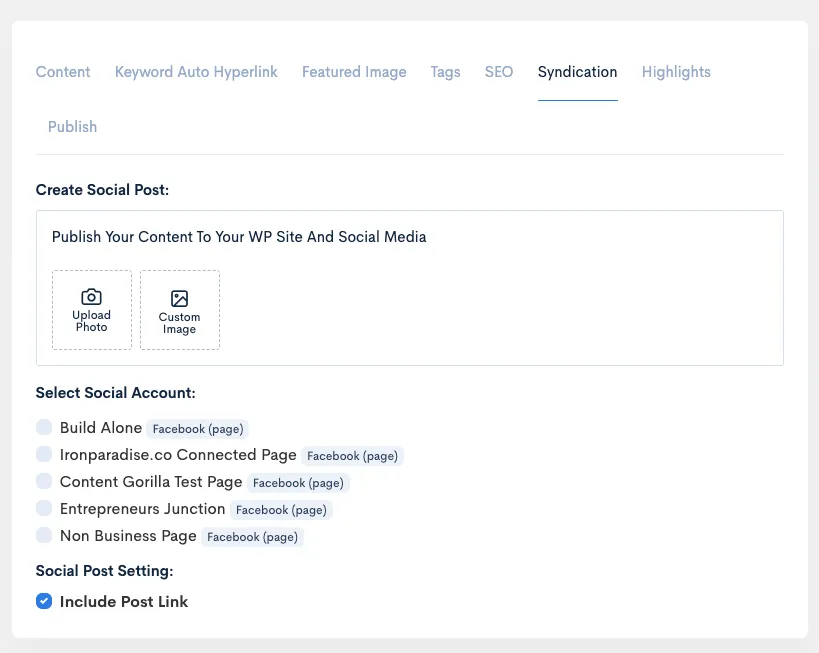
- Go to the Syndication section in your post editor.
- Write or adjust the titleyou’d like to share on your social posts.
- Keep it short for platforms like Twitter which have character limits.
- Upload a custom social sharing image if you’d like.
- Select which social accountsyou want to publish to.
- Note: If you haven’t connected your social media yet, go to Settings → Integrations and link your accounts first.
4️⃣ Configure Final Publishing Options
- Improving on-site search
- Giving search engines better context for ranking
- Go to the Syndication section in your post editor.
- Write or adjust the titleyou’d like to share on your social posts.
- Keep it short for platforms like Twitter which have character limits.
- Upload a custom social sharing image if you’d like.
- Select which social accountsyou want to publish to.
- Note: If you haven’t connected your social media yet, go to Settings → Integrations and link your accounts first.

- Click Publish to open final settings.
- Select your website (WordPress or Blogger).
- Choose your post status:
- Publish (to make it live immediately — required for syndication to work)
- Draft (if you don’t want it live yet — but note this won’t push to social media)
- Pick a category — or create a new one if needed.
- Choose whether to include the featured image.
- Choose whether to embed the original video (useful if your post was created from YouTube).
- When ready, click Publish.
5️⃣ Check Your Published Post
- After a few moments, your post will:
- Go live on your WordPress or Blogger site
- Be shared on your connected social media pages or profiles
- To view it:
- Go to Post Archive inside your app.
- Find your post and click Go To Post — this opens your live post on your site.
- Your published page will include:
- The featured image
- Embedded video (if selected)
- Hyperlinks, keywords, CTAs — all preserved
- Auto-linked text if you’ve set keyword links (great for affiliate promotions)
✅ Pro Tips
- Use custom featured images to avoid copyright issues — tools like Canva are great for quick graphics.
- Double-check your post status is Publish if you want social media syndication to run.
- Use relevant keywords in your tags to help Google understand your content.
- Syndication works for Facebook Pages, LinkedIn Profiles/Pages, and more.
✅ FAQs
Q: Does this work for non-WordPress websites?
A: Direct publishing is currently for WordPress and Blogger only. For other sites (like Webflow or Wix), export your content manually.
Q: How do I integrate my social accounts?
A: Go to Settings → Integrations and follow the step-by-step instructions for Facebook, LinkedIn, or other platforms.
Q: Can I turn off video embeds?
A: Yes — uncheck Include YouTube Video if you don’t want the original video embedded.